CloudStack
Apache CloudStack is an open-source cloud computing platform which we use to allow members to create their own virtual machines (VMs).
Activating your cloud account
Before using CloudStack, you must activate your cloud account. Log into any general-use machine and run the following:
ceo cloud account activate
Account resource limits
As of this writing, the CloudStack resource limits for each member are:
- 8 CPU cores
- 8 GB of RAM
- 40 GB of disk space
If you wish to acquire more resources, please send an email to the Systems Committee with a brief justification.
Adding your SSH key
You will want to do this before creating a VM.
Note
The rest of this section assumes that you already have an SSH key pair. If you do not have one yet, please create one first; there are plenty of good tutorials online on how to do this (here is one example).
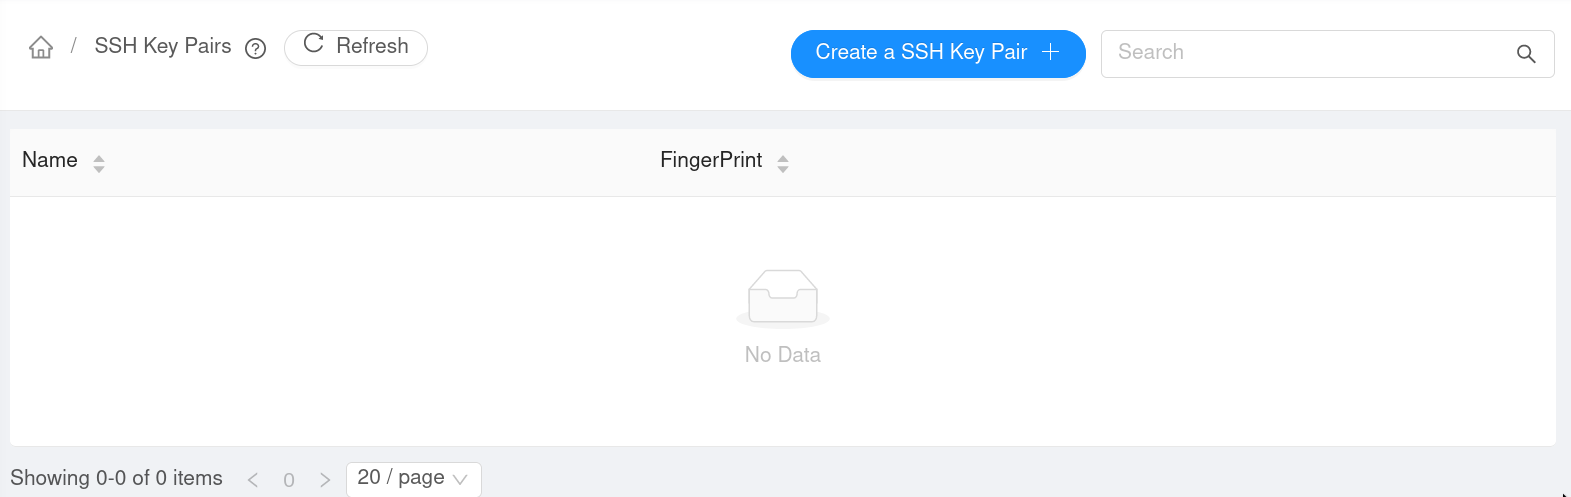
Once you've logged into CloudStack, click on the 'Compute' button on the left-hand panel (depending on how wide your screen is, you may only see a cloud icon), then click 'SSH key pairs'. Click the 'Create a SSH Key Pair' button.
Now you will need to add your public key (this is the contents of the file which ends with '.pub').
You can name the key pair anything you like; just make sure you remember the name.
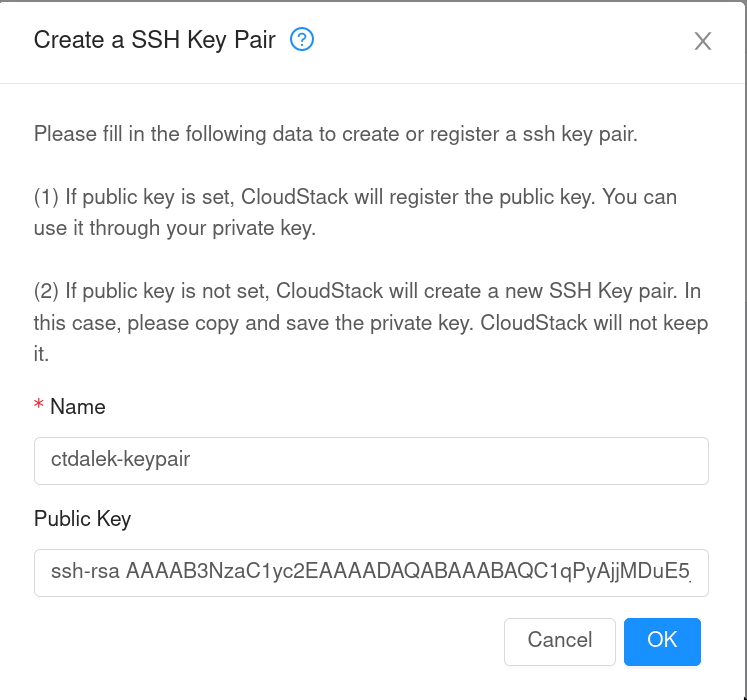
Click OK once you have pasted your public key into the text box.
Creating a VM
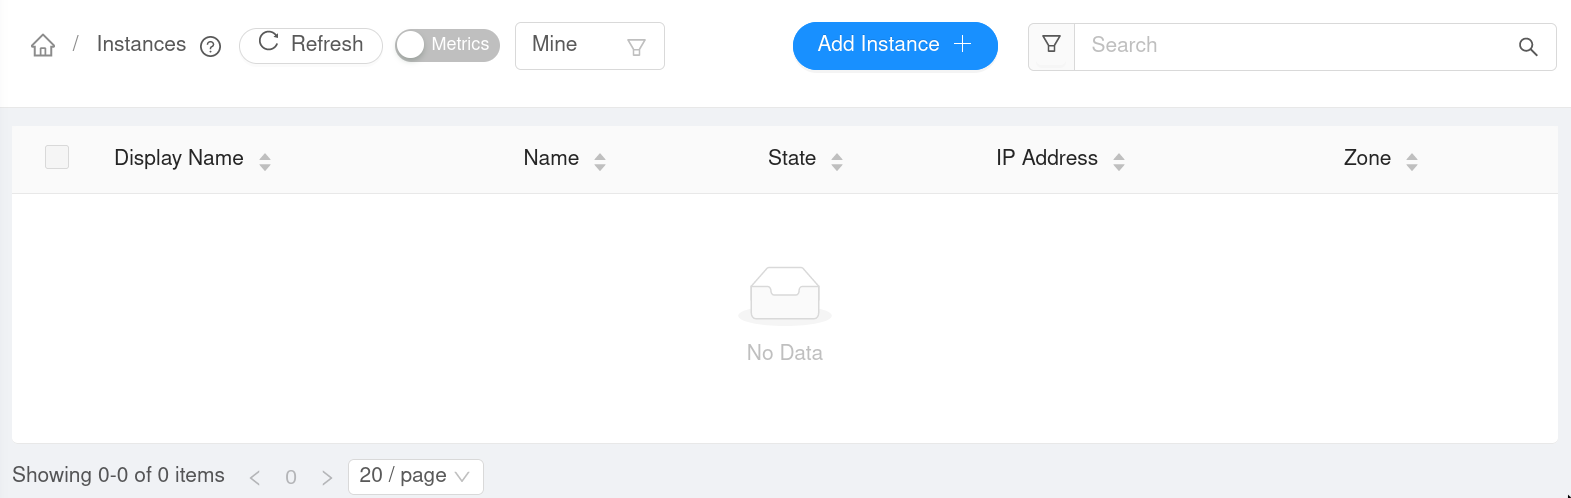
Click on the 'Compute' button on the left-hand panel, then click 'Instances'. Click the 'Add Instance' button.
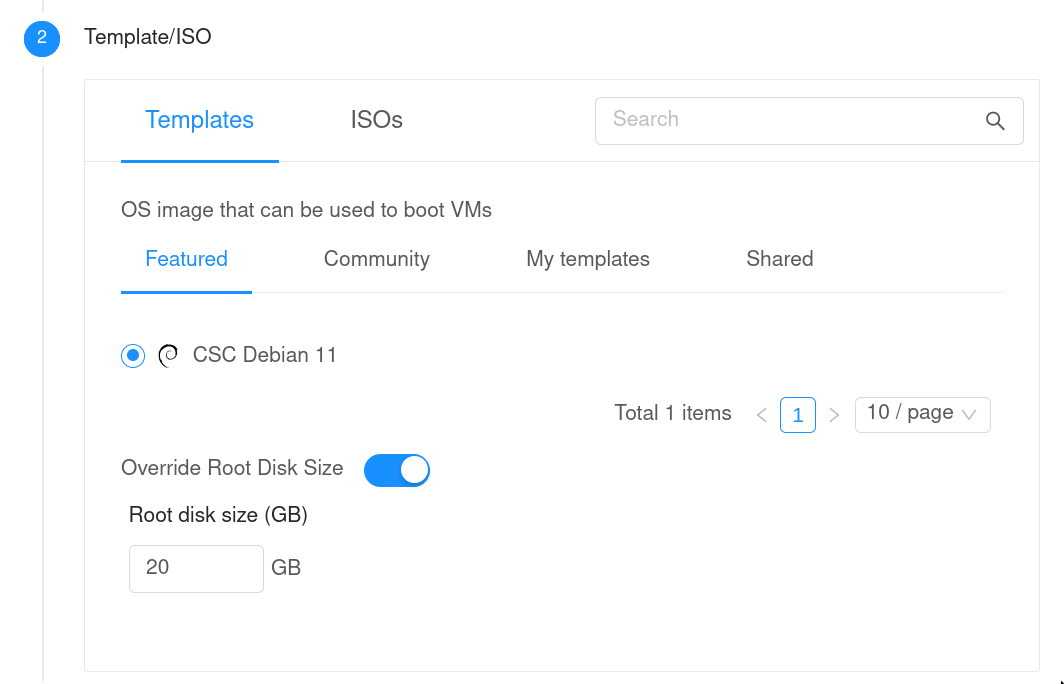
Under the 'Template/ISO' section, choose the OS which you want your VM to run.
Tip
Don't see your favourite OS listed? No problem! Just send an email to the Systems Committee requesting your OS to be added. We require that the OS must already have a publically available cloud image which has been prepared with cloud-init.
Important: Make sure to toggle the 'Override Root Disk Size' option and set it to something reasonable (see Account resource limits for the maximum disk space which you can use.) The default root disk size for cloud images is usually very small (e.g. 2GB), so you will definitely want to change it.
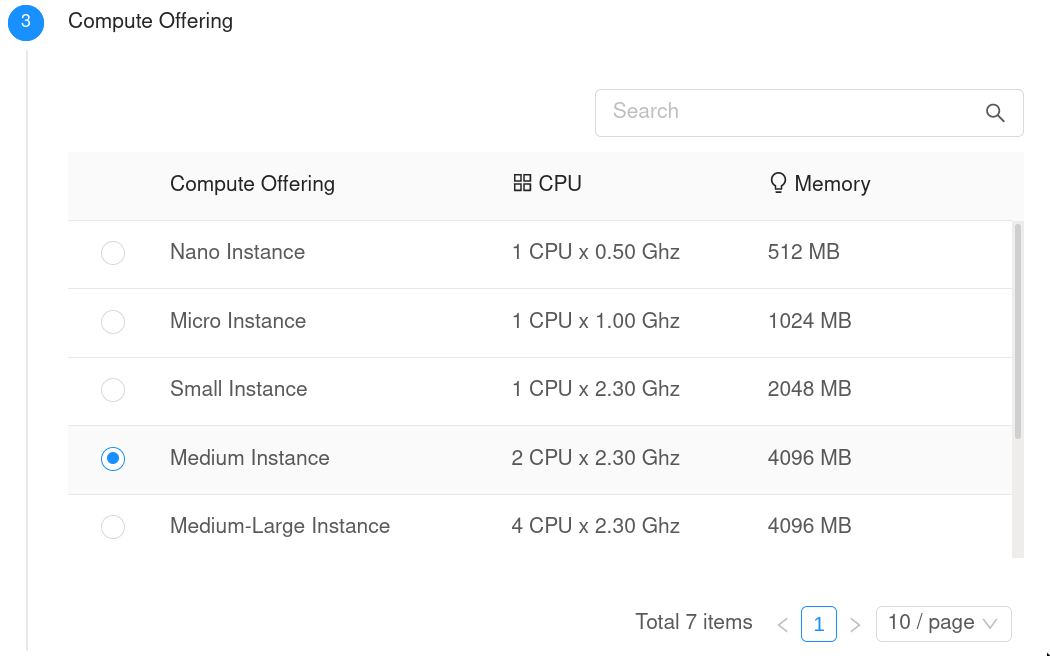
Now you need to choose a Compute Offering. If you are sure not sure how much you need, we recommend that you start off with a Small or Medium instance; you can always upgrade later if necessary.
You probably do not need to add an external disk. Be aware that if you do add one, this counts towards your total disk quota.

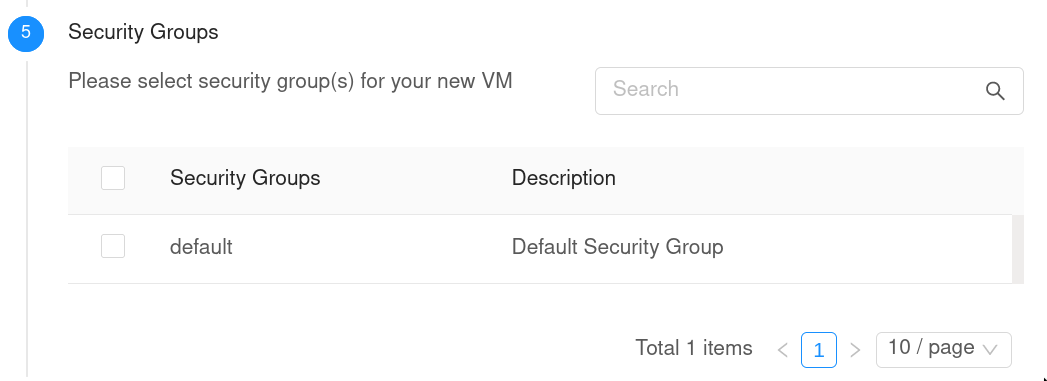
Make sure that you do NOT place the VM in the default security group, because this blocks all ingress traffic by default.
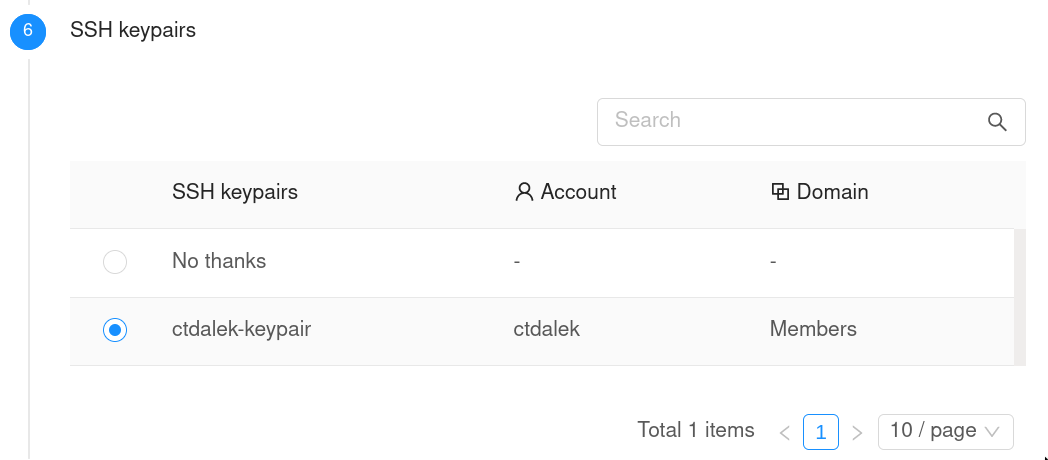
Choose the SSH keypair which you created earlier:
Enter a name for your VM:
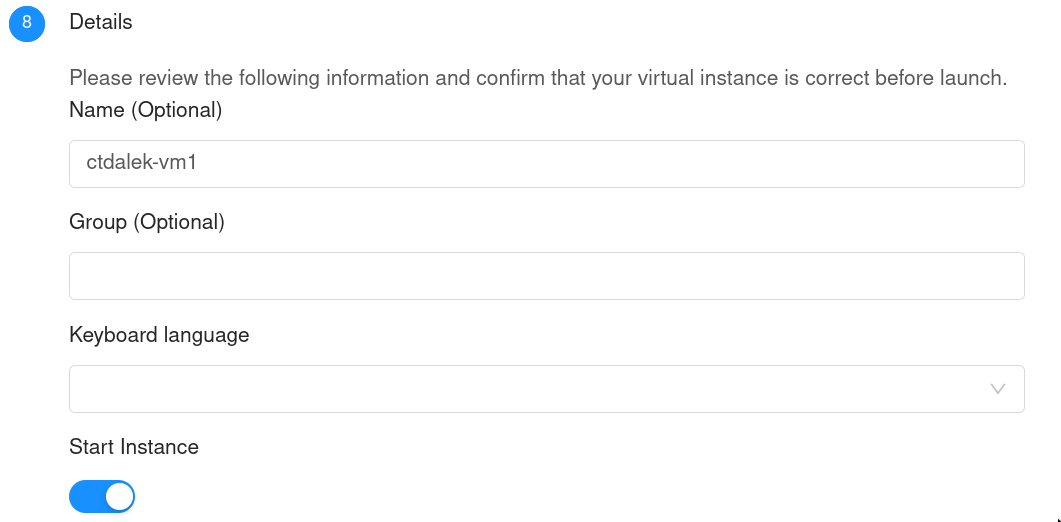
Now press 'Launch Virtual Machine'.
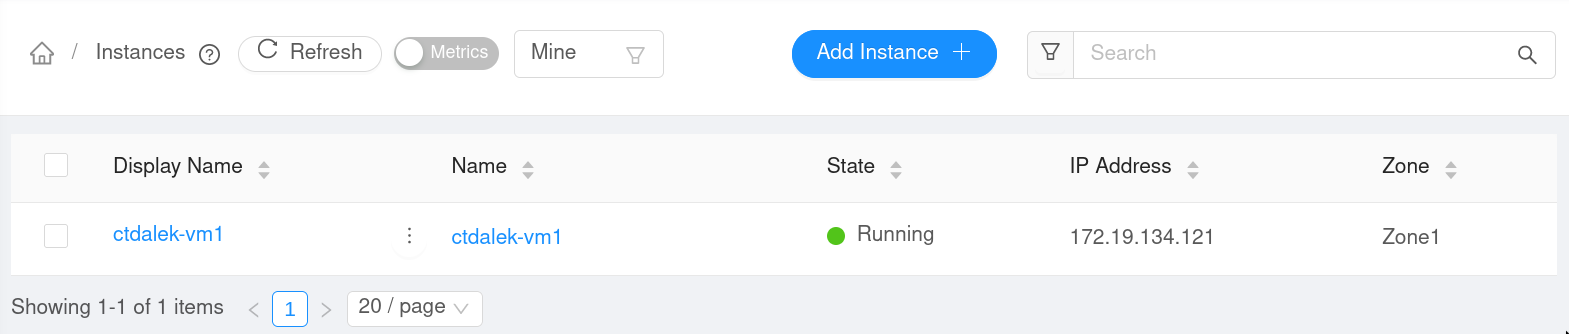
If all goes well, you should see your VM running from the 'Instances' dashboard:
Accessing your VM
All VMs will obtain an IP address from the 172.19.134.0/24 subnet (MC VLAN 425). As this is a private IP range, you can only access this directly from on campus. If you are not on campus, you can still access your VM via the following methods:
- use the Campus VPN
- use a general-use CSC machine as a jump host
The second option is generally more convenient. The idea is to SSH into a CSC general-use machine first, then SSH from there into your VM.
From your personal machine, you can SSH into your VM by running a command like the following:
ssh -J ctdalek@corn-syrup.csclub.uwaterloo.ca debian@172.19.134.121
ctdalek with your CSC username, replace 172.19.134.121 with the IP
address of your VM, and replace debian with the default username of the OS
which you chose:
- Debian:
debian - Ubuntu:
ubuntu - CentOS:
centos
Once you have logged in, you can run sudo -s to become the root user.
See SSH tricks for some useful SSH tricks.
Next steps
Congratulations, you've created your VM! ...So what do you do now?
That's completely up to you! Since you can become the root user inside the VM, you can install and run any software you want (just keep in mind that you must still follow the Machine Usage Agreement).
Here are some ideas to get you started:
- Install Docker and run some containers
- Install Apache or NGINX and serve a static website (e.g. a blog)
- Run a Node.js/Python/Golang/whatever web application
- Install k0s and run a small Kubernetes cluster
The world's your oyster! 😊
If you plan on hosting a publicly available website, you will want to create a virtual host. See Virtual Hosting for details.
Limitations
There are a few limitations of our CloudStack setup which are worth knowing:
- The console proxy will only work if you're on the campus network. See SSH Tricks for instructions on how to set up a SOCKS proxy.
- If you're uploading a template or ISO from your computer, you also need to be on the campus network.
- If you're creating a template which downloads an OS image from a URL, and that URL resolves to a machine on campus, it won't work. There's some iptables setup which we (syscom) need to do beforehand; just send us an email if you're going to be downloading a template from an on-campus server.